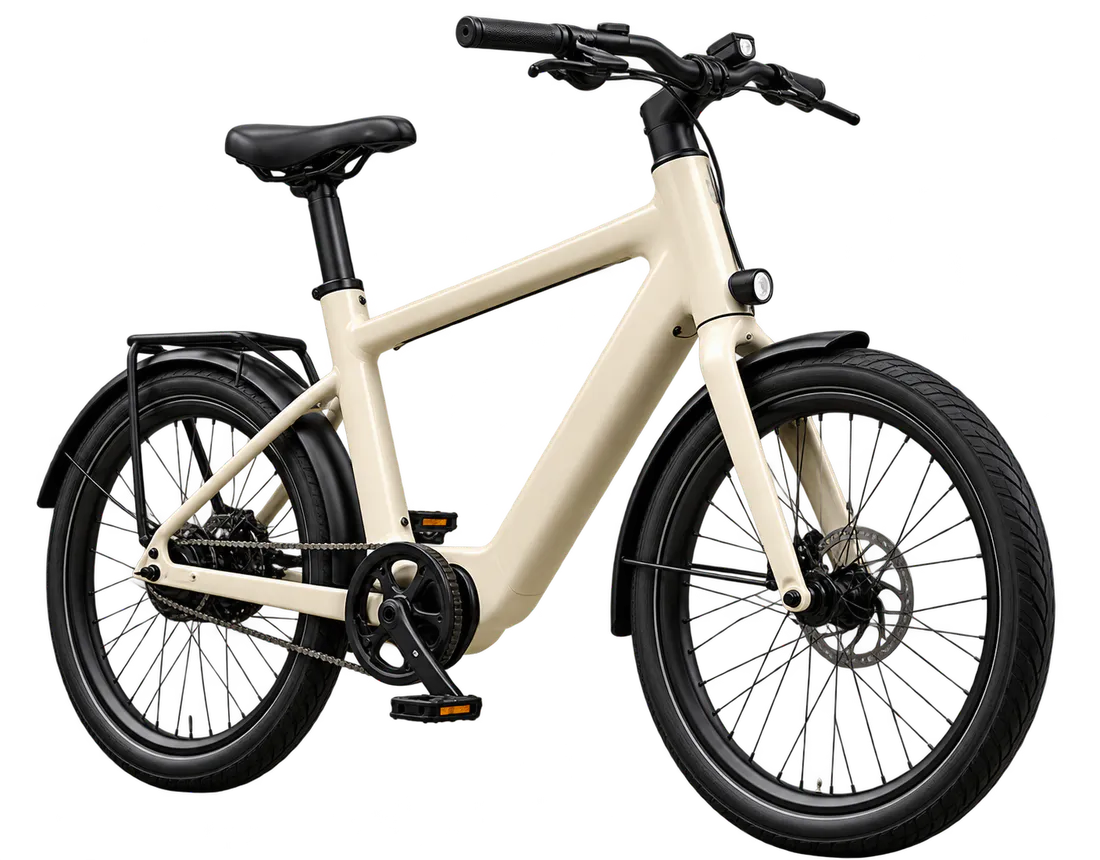
 China eBike
E-Bike Battery Compatibility: How to Check Voltage, Connectors, Fit and BMS Communication
Learn how to verify e-bike battery compatibility by checking voltage, connectors, fit, charger requirements and possible BMS communication.
A replacement battery is not compatible simply because its label says 36V or 48V. It must work as part of a complete system: the battery, controller, charger, battery mount, wiring and, on some bikes, the display or diagnostic electronics.
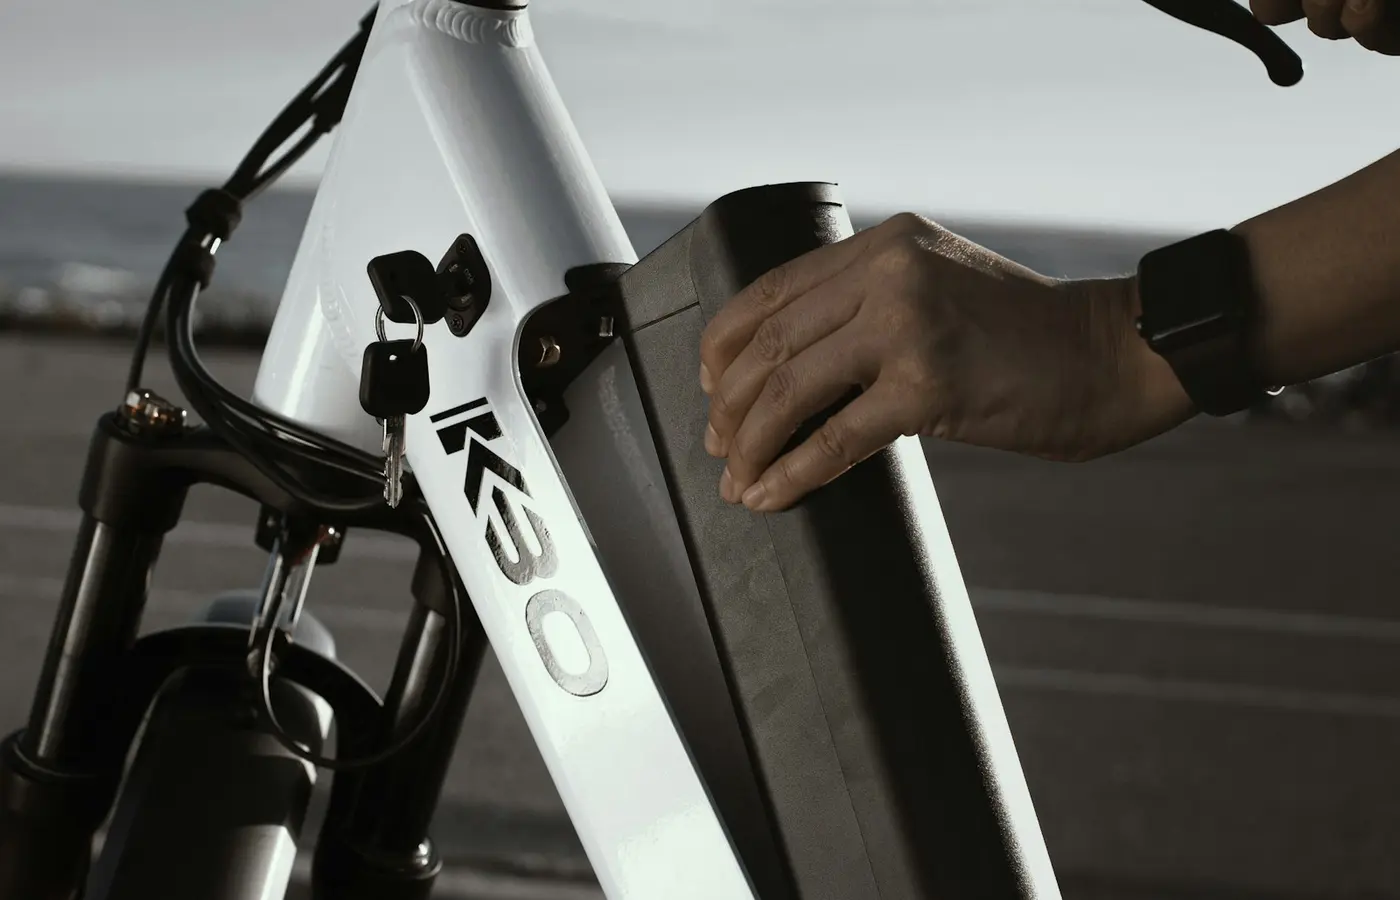
The lowest-risk route is an exact replacement identified by the bike maker for the specific model and model year. If that is unavailable, compatibility needs to be established in stages. Some details can be checked from labels and drawings; others—especially connector pin assignments and digital communication—may require written confirmation from the bike or battery manufacturer.
Start With the Bike Maker’s Approved Battery Information
Before comparing marketplace listings or battery-case photos, identify the original system as precisely as possible. Collect:
- The bicycle brand, model and model year
- The original battery model number and part number
- The nominal voltage and rated capacity printed on the battery label
- The charger model and output information
- The controller model or rating, if visible
- Photos of the battery terminals, frame cradle, lock and connectors
The owner manual, service documentation and official parts catalogue are the best starting points. An approved replacement part number is the clearest evidence that a battery is intended for the bike. A manufacturer support response that names the exact bicycle model and original battery part number can also be useful when a part is no longer listed publicly.
This matters because a product description such as “fits 48V e-bikes” is not a model-specific compatibility statement. It does not establish that the battery can latch into the frame, accept the original charger, supply the required current or communicate with the bike electronics.
Manufacturer-branded batteries are not automatically interchangeable across a brand’s range either. A company may use several battery housings, rail designs, connector layouts and firmware generations under similar product names.
Match the Electrical System, Not Just the Voltage Label
Three label values are commonly confused when choosing a replacement battery:
| Specification | What it describes | What it can confirm |
|---|---|---|
| Nominal voltage (V) | The battery system’s stated operating-voltage class | Whether it is in the same voltage class as the documented bike system |
| Capacity (Ah) | The amount of charge the pack is rated to store | A basis for comparing capacity, not proof of compatibility |
| Energy (Wh) | Nominal voltage multiplied by amp-hours | A more useful broad comparison of stored energy, when calculated on comparable ratings |
Nominal voltage must match the documented system
The replacement battery’s nominal voltage should match the bike maker’s documented battery, controller and charger requirements. Common e-bike systems are labelled 36V, 48V, 52V or 72V, but the label alone does not tell the whole electrical story.
A 48V replacement is therefore not an appropriate substitute for a 36V e-bike unless the bike manufacturer specifically documents support for that configuration. The possible outcome depends on the controller, protection systems and connected electronics, so it is better to treat the combination as incompatible rather than assume a predictable failure mode.
Battery-selection guidance from Cemoto and EM3ev similarly treats voltage, controller requirements, BMS limits, charger and connectors as related checks rather than independent choices.12
Capacity can affect range, weight and packaging
A higher amp-hour rating can provide more stored energy if the nominal voltage is the same, which may increase potential riding range. Actual range still depends on riding conditions, assist level, rider and cargo mass, terrain, tyre pressure, temperature and battery condition.
More importantly, a larger-capacity battery is not automatically suitable because it has the same voltage. It may use a different housing, weigh more than the frame mount is designed for, have different charge limits or be unable to supply the controller’s required current. Its battery-management system may also behave differently under load or during charging.
Check discharge-current capability and BMS limits
The battery-management system, or BMS, is the electronics inside a battery pack that monitors and manages cells. Depending on its design, it may provide protections related to charging, discharge, temperature and cell balance.
For compatibility, the relevant question is whether the proposed pack is documented to support the bike’s required discharge current and charging arrangement. A pack with insufficient discharge capability may cut out, trigger faults or fail to deliver expected assistance under high load. Do not estimate this from amp-hours alone: capacity and current capability are different specifications.
If the controller’s maximum current is not published, ask the bicycle maker or a qualified technician rather than relying on the motor’s wattage label as a substitute.
Do not assume the original charger will work
The charger is part of the system. Check the charger label and the replacement battery documentation for the approved charging method, connector and required charger output. A charge plug that physically fits does not prove that charging voltage, polarity or communication requirements are correct.
Use the charger specified by the manufacturer for the replacement battery, or one that the battery maker explicitly lists as compatible. Do not modify charger leads or battery charging ports to make unlike parts connect.
Check Connector Type, Pin Count and Polarity Before Connecting Anything
The discharge connection between battery and bike needs more than a visually similar plug. Verify all of the following:
- Connector family and physical keying: Does the plug or cradle terminal arrangement physically match without force?
- Pin count: Are there the same number of power, signal or auxiliary contacts?
- Pinout: Does each contact have the same documented function?
- Polarity: Are positive and negative assigned to the same terminals?
- Current rating: Is the connector and its wiring suitable for the documented system load?
- Charge connection: If charging occurs through a separate port, does that port match the battery maker’s requirements?
A matching shell shape is not proof of matching polarity or wiring. Connector designs can be used across products with different pin assignments. Integrated battery rails may also include small spring contacts that carry signals rather than power.
Compare clear photographs, terminal markings and official wiring diagrams where available. If no pinout is published, do not probe or connect the battery based on colour coding, assumptions or an online photo. A qualified e-bike technician may be able to identify the interface, but manufacturer confirmation remains stronger evidence.
Are adapters a solution?
An adapter can change a physical connector interface. It cannot establish electrical compatibility, correct polarity, current capability, weather sealing or data communication.
Use an adapter only when the bicycle or battery manufacturer documents that exact adapter for the relevant components. An undocumented adapter may introduce extra connection resistance, reduce enclosure sealing or bypass intended safety features. It also does not resolve a mismatch in voltage, BMS discharge limits or pairing requirements.
Verify Physical Fit, Mounting and Weather Protection
A battery must be mechanically secure as well as electrically suitable. This is particularly important for downtube-mounted packs, where the case, rail and lock work together to retain a relatively heavy component over bumps and vibration.
Compare the original and proposed battery using manufacturer drawings, installation instructions and official photographs. Check:
- Overall length, width and height
- Rail or cradle profile
- Position and spacing of mounting points
- Lock-cylinder position and latch engagement
- Battery terminal location and contact depth
- Clearance around the frame, suspension, rack, mudguards and cables
- Cable exit direction and strain relief
- Whether the battery can be inserted and removed as intended
The pack should seat fully and latch without forcing it. It should not move in the rail, interfere with steering or suspension travel, pinch wiring or require modification to the frame, battery housing, mount or electrical enclosure.
Weather protection also deserves attention. An external pack and its cradle may rely on particular seals, covers or drainage paths. A battery that fits loosely, leaves terminals exposed or changes the intended cable routing can create practical reliability problems even if it powers the bike on a work stand.
Find Out Whether the Battery Must Communicate With the Bike
Some e-bikes use only power connections between the battery and controller. Others use additional data contacts or electronic handshakes involving the battery, controller, display, charger or diagnostic tool.
This distinction is critical because a battery can have the correct nominal voltage and still be rejected by the bike. A manufacturer may use communication for battery identification, state-of-charge reporting, diagnostics, charging control or authentication. The exact functions are model-specific.
Look for these signs that communication may be involved:
- More contacts than are needed for basic positive and negative power terminals
- Connector diagrams identifying signal, data, CAN, UART, enable, temperature or diagnostic pins
- Service-manual references to battery pairing, registration or initialization
- Error codes related to the battery, communication or authentication
- A display that shows detailed battery status supplied by the pack
- Manufacturer instructions requiring dealer software after battery replacement
A GYROOR compatibility guide describes digital communication protocols as one possible part of battery interchangeability, but this should be treated as general manufacturer guidance, not evidence for a particular model.3
The practical test is documentation for your specific bike. Ask the bike or battery maker: “Does this model require battery pairing, authentication, firmware registration or communication with the controller, display or charger?” Request a written answer that identifies the exact bike and battery part numbers.
Do not attempt to bypass authentication or data connections. That can disable intended system functions and may create safety, warranty or legal issues depending on the product and market.
Use This Replacement-Battery Decision Checklist Before Buying
Work through the checks in this order:
- Identify the original part. Record the bike model, model year, original battery part number and charger model.
- Look for an approved replacement. Check the manufacturer’s parts catalogue, support pages, manual and warranty policy.
- Confirm voltage and charging requirements. Match the documented battery-system voltage and use the approved charger arrangement.
- Confirm current and BMS suitability. Verify that the proposed pack is documented for the bike’s controller demand and intended charging setup.
- Confirm the connector interface. Verify connector type, pin count, pinout, polarity and current rating—not only plug shape.
- Confirm physical mounting. Compare dimensions, rail geometry, lock engagement, cable routing and weather protection.
- Confirm communication requirements. Establish whether pairing, authentication or data communication is required.
- Review seller documentation. A credible listing should identify exact compatible models or original battery part numbers, not merely a voltage category.
- Check return and warranty terms before opening or installing the pack. Compatibility disputes can be difficult if the product has been modified or connected incorrectly.
A replacement can be described as verified compatible when the maker documents it for the exact bicycle or original battery part number, and the relevant installation conditions are met. An aftermarket battery may be technically suitable, but it remains an unverified option until its electrical, mechanical and communication compatibility is confirmed with adequate documentation.
Frequently Asked Questions
Can I use a 48V battery on a 36V e-bike?
Not unless the bike manufacturer explicitly documents that configuration as supported. A nominal-voltage mismatch affects the controller, charger and other connected electronics. Treat a 48V battery as incompatible with a 36V system unless there is model-specific manufacturer approval.
Does a higher amp-hour replacement battery increase e-bike range?
It can increase available stored energy when the voltage is comparable, but it does not guarantee a specific range increase. It must also fit the bike, work with the charger and controller, and have suitable BMS and discharge-current capability.
Can I use an adapter if the replacement battery connector is different?
Only if an approved adapter is documented for those exact components. An adapter may make connectors mate physically, but it does not prove matching polarity, pinout, current capacity, voltage, charging requirements or communication.
How can I tell whether my e-bike battery needs to communicate with the controller?
Check the service manual, connector diagrams and error-code documentation. Extra contacts, references to pairing or diagnostic procedures, and manufacturer statements about authentication are all indicators. If the documentation is unclear, obtain written confirmation from the bike or battery maker before buying a replacement.
Practical takeaway
For e-bike battery compatibility, start with the original part number—not the voltage printed in a listing. Then verify the system voltage and charger, connector pinout and polarity, physical rail and lock fit, discharge and BMS requirements, and any electronic communication or pairing.
If one of those checks cannot be verified from manufacturer documentation, pause before purchase. The right next step is not to make the battery fit; it is to obtain model-specific confirmation from the bike or battery maker.